Prepare Cluster
This section is devoted to prepare the OpenShift cluster, hence something to be done before actually run the proper GitOps lab.
Setup OpenShift 4
In order to run this guide you need to have access to one OpenShift cluster and be cluster admin on it. For instance using try.openshift.com, or can use any existing OpenShift4 cluster. Once you have your cluster, you can download the latest OpenShift client oc from here and add it to your path.
You can check the OpenShift version using:
oc versionThe output should show oc version 4.12+:
Client Version: 4.12
...
Then log in executing oc login.
Everything we do in this section requires that you have fulfilled the prerequisites section, that you’re logged in your OpenShift cluster and you have cluster-admin permissions on it.
If you don’t have an OpenShift cluster and/or you don’t have cluster-admin permissions on it you could for instance using try.openshift.com.
|
Run this section only if you’re preparing the lab environment and as a |
So if you are not already logged in, please do it now.
oc login -u %USERNAME% -p %PASSWORD% --server=https://api.%BASE_SUBDOMAIN%:6443 --insecure-skip-tls-verify|
If the API server you’re trying to log in uses a self-signed certificate or otherwise non trusted CA you will receive this message Type 'y' only if you trust the server! |
Deploying core components
In order to run this guide we’re going to need several components, more prominently:
-
ArgoCD, the GitOps engine supported by Red Hat through the OpenShift GitOps operator
-
Tekton, the de facto kubernetes native CICD pipelines system supported by Red Hat through the OpenShift Pipelines operator
-
*OPTIONAL: Quay, Red Hat’s container registry (you can use the SaaS service instead a local instance)
Let’s install all of them:
git clone https://github.com/atarazana/kitchensink.git && cd kitchensink
until oc apply -k util/bootstrap/; do sleep 2; done
This command execute oc apply -k … until it’s done every 2 seconds… this is so because behind scenes some tasks are run asynchronously and in the meantime some errors will be seen as in the next example. The number of errors decreases as components are installed until there are no errors.
$ until oc apply -k util/bootstrap/; do sleep 2; done
namespace/gitea-system created
namespace/kitchensink-infra created
namespace/openshift-logging created
namespace/openshift-operators-redhat created
serviceaccount/guide-setup-job created
serviceaccount/occli created
serviceaccount/occli created

...

checluster.org.eclipse.che/devspaces configured
route.route.openshift.io/s3-insecure unchanged
template.template.openshift.io/eap72-basic-s2i configured
group.user.openshift.io/gitops-guide-users unchanged
devworkspacetemplate.workspace.devfile.io/web-terminal-exec unchanged
devworkspacetemplate.workspace.devfile.io/web-terminal-tooling unchanged
After a few reconciliation cycles the final output is unchanged for all objects created by the scripts.
|
High level tests
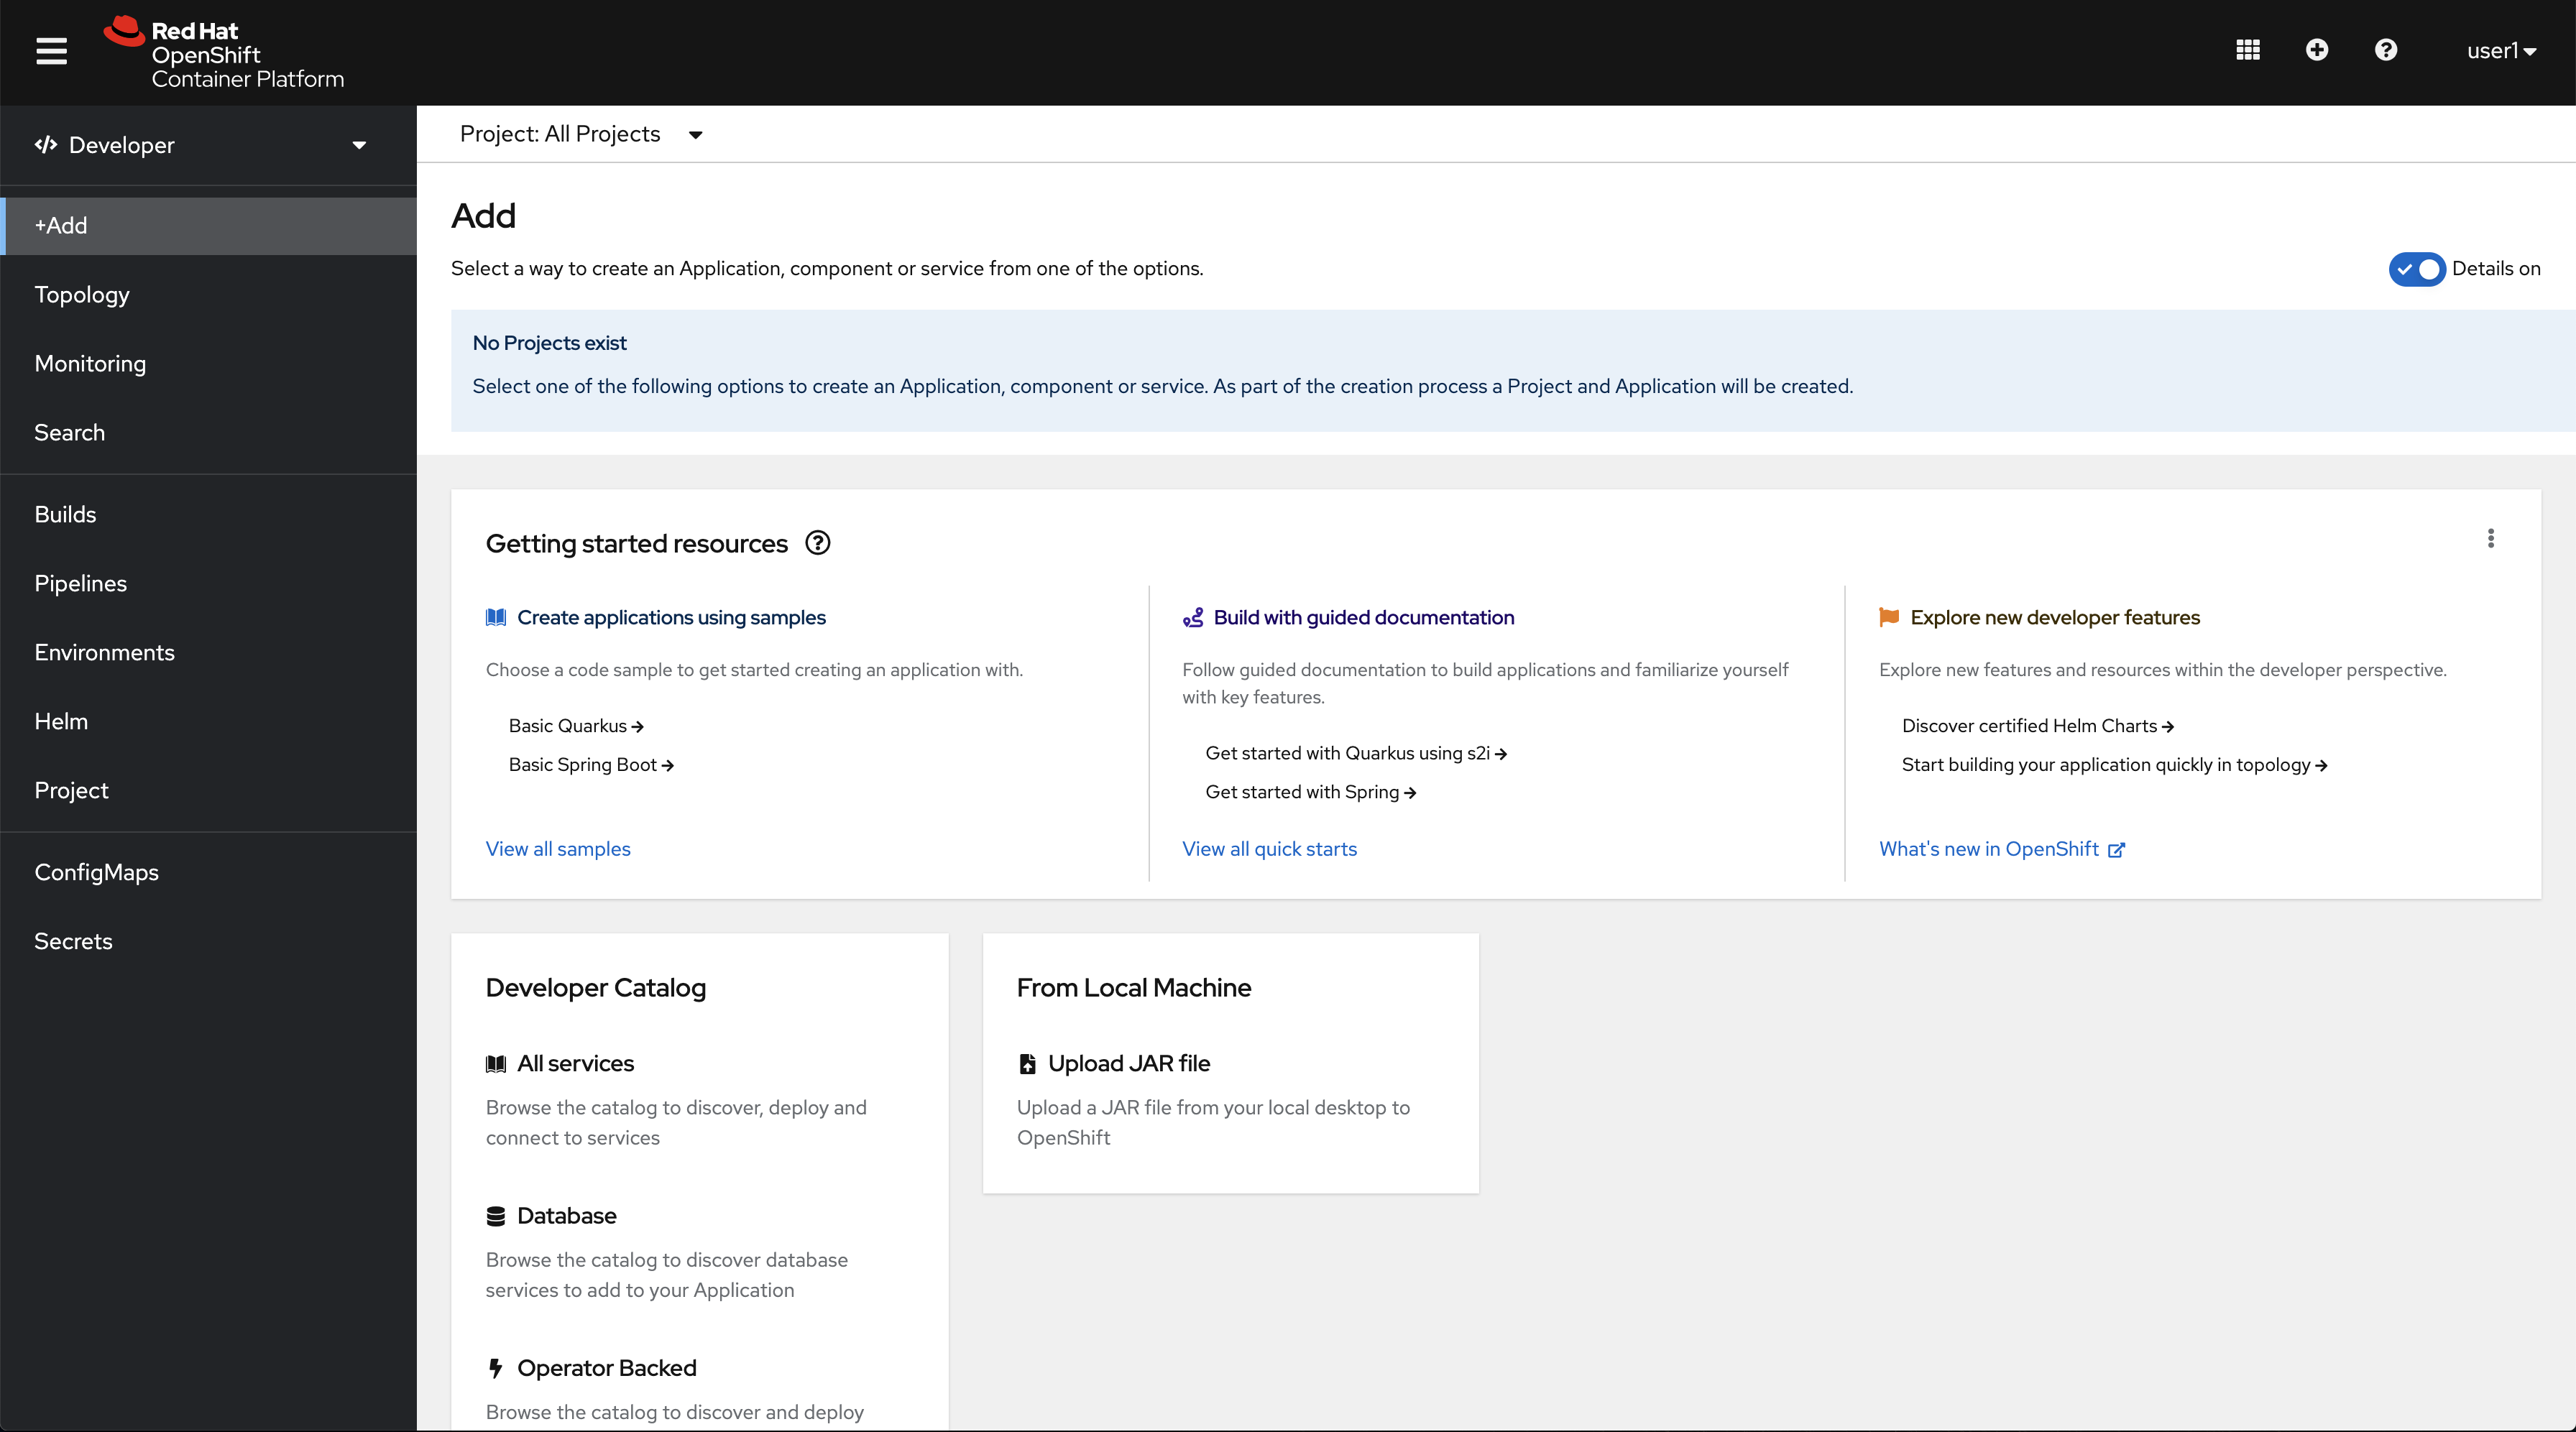
Let’s open the OpenShift Web Console and run some validation tests.
https://console-openshift-console.apps.%BASE_SUBDOMAIN%You should see something like.
| You can skip the tour or run it if you want and have time. |

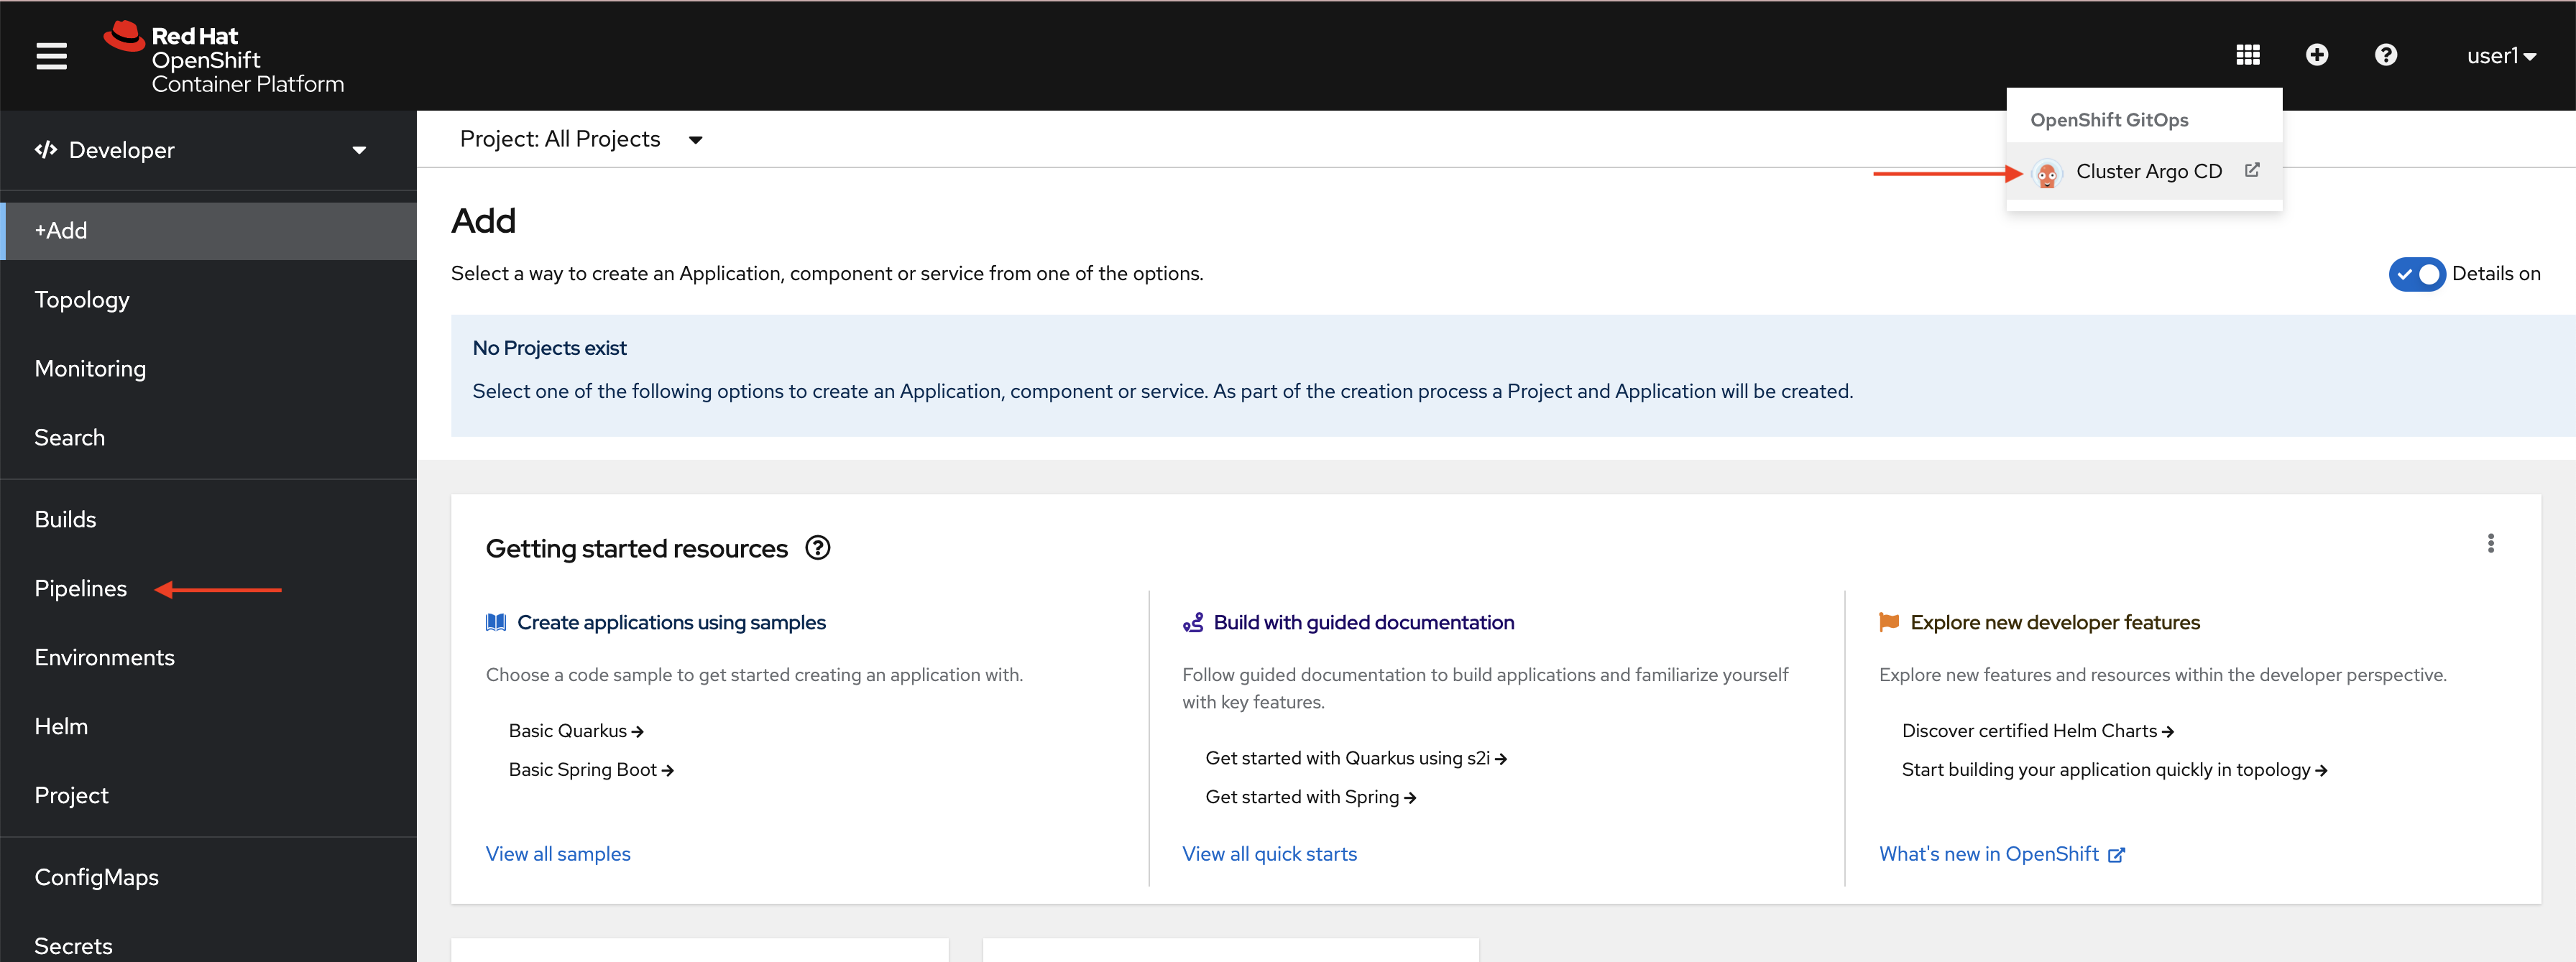
Now, take a look to the next picture, there are two arrows pointing to:
-
The ArgoCD web console link
-
The Pipelines section

You can see both then we’re on the good way.
Open the ArgoCD web console then click on the "LOG IN VIA OPENSHIFT" button on the upper right corner and use your credentials:
| The first time you successfully log in you’ll see an Authorize Access request, leave it "as is" and click on the button that says "Allow selected permissions" |

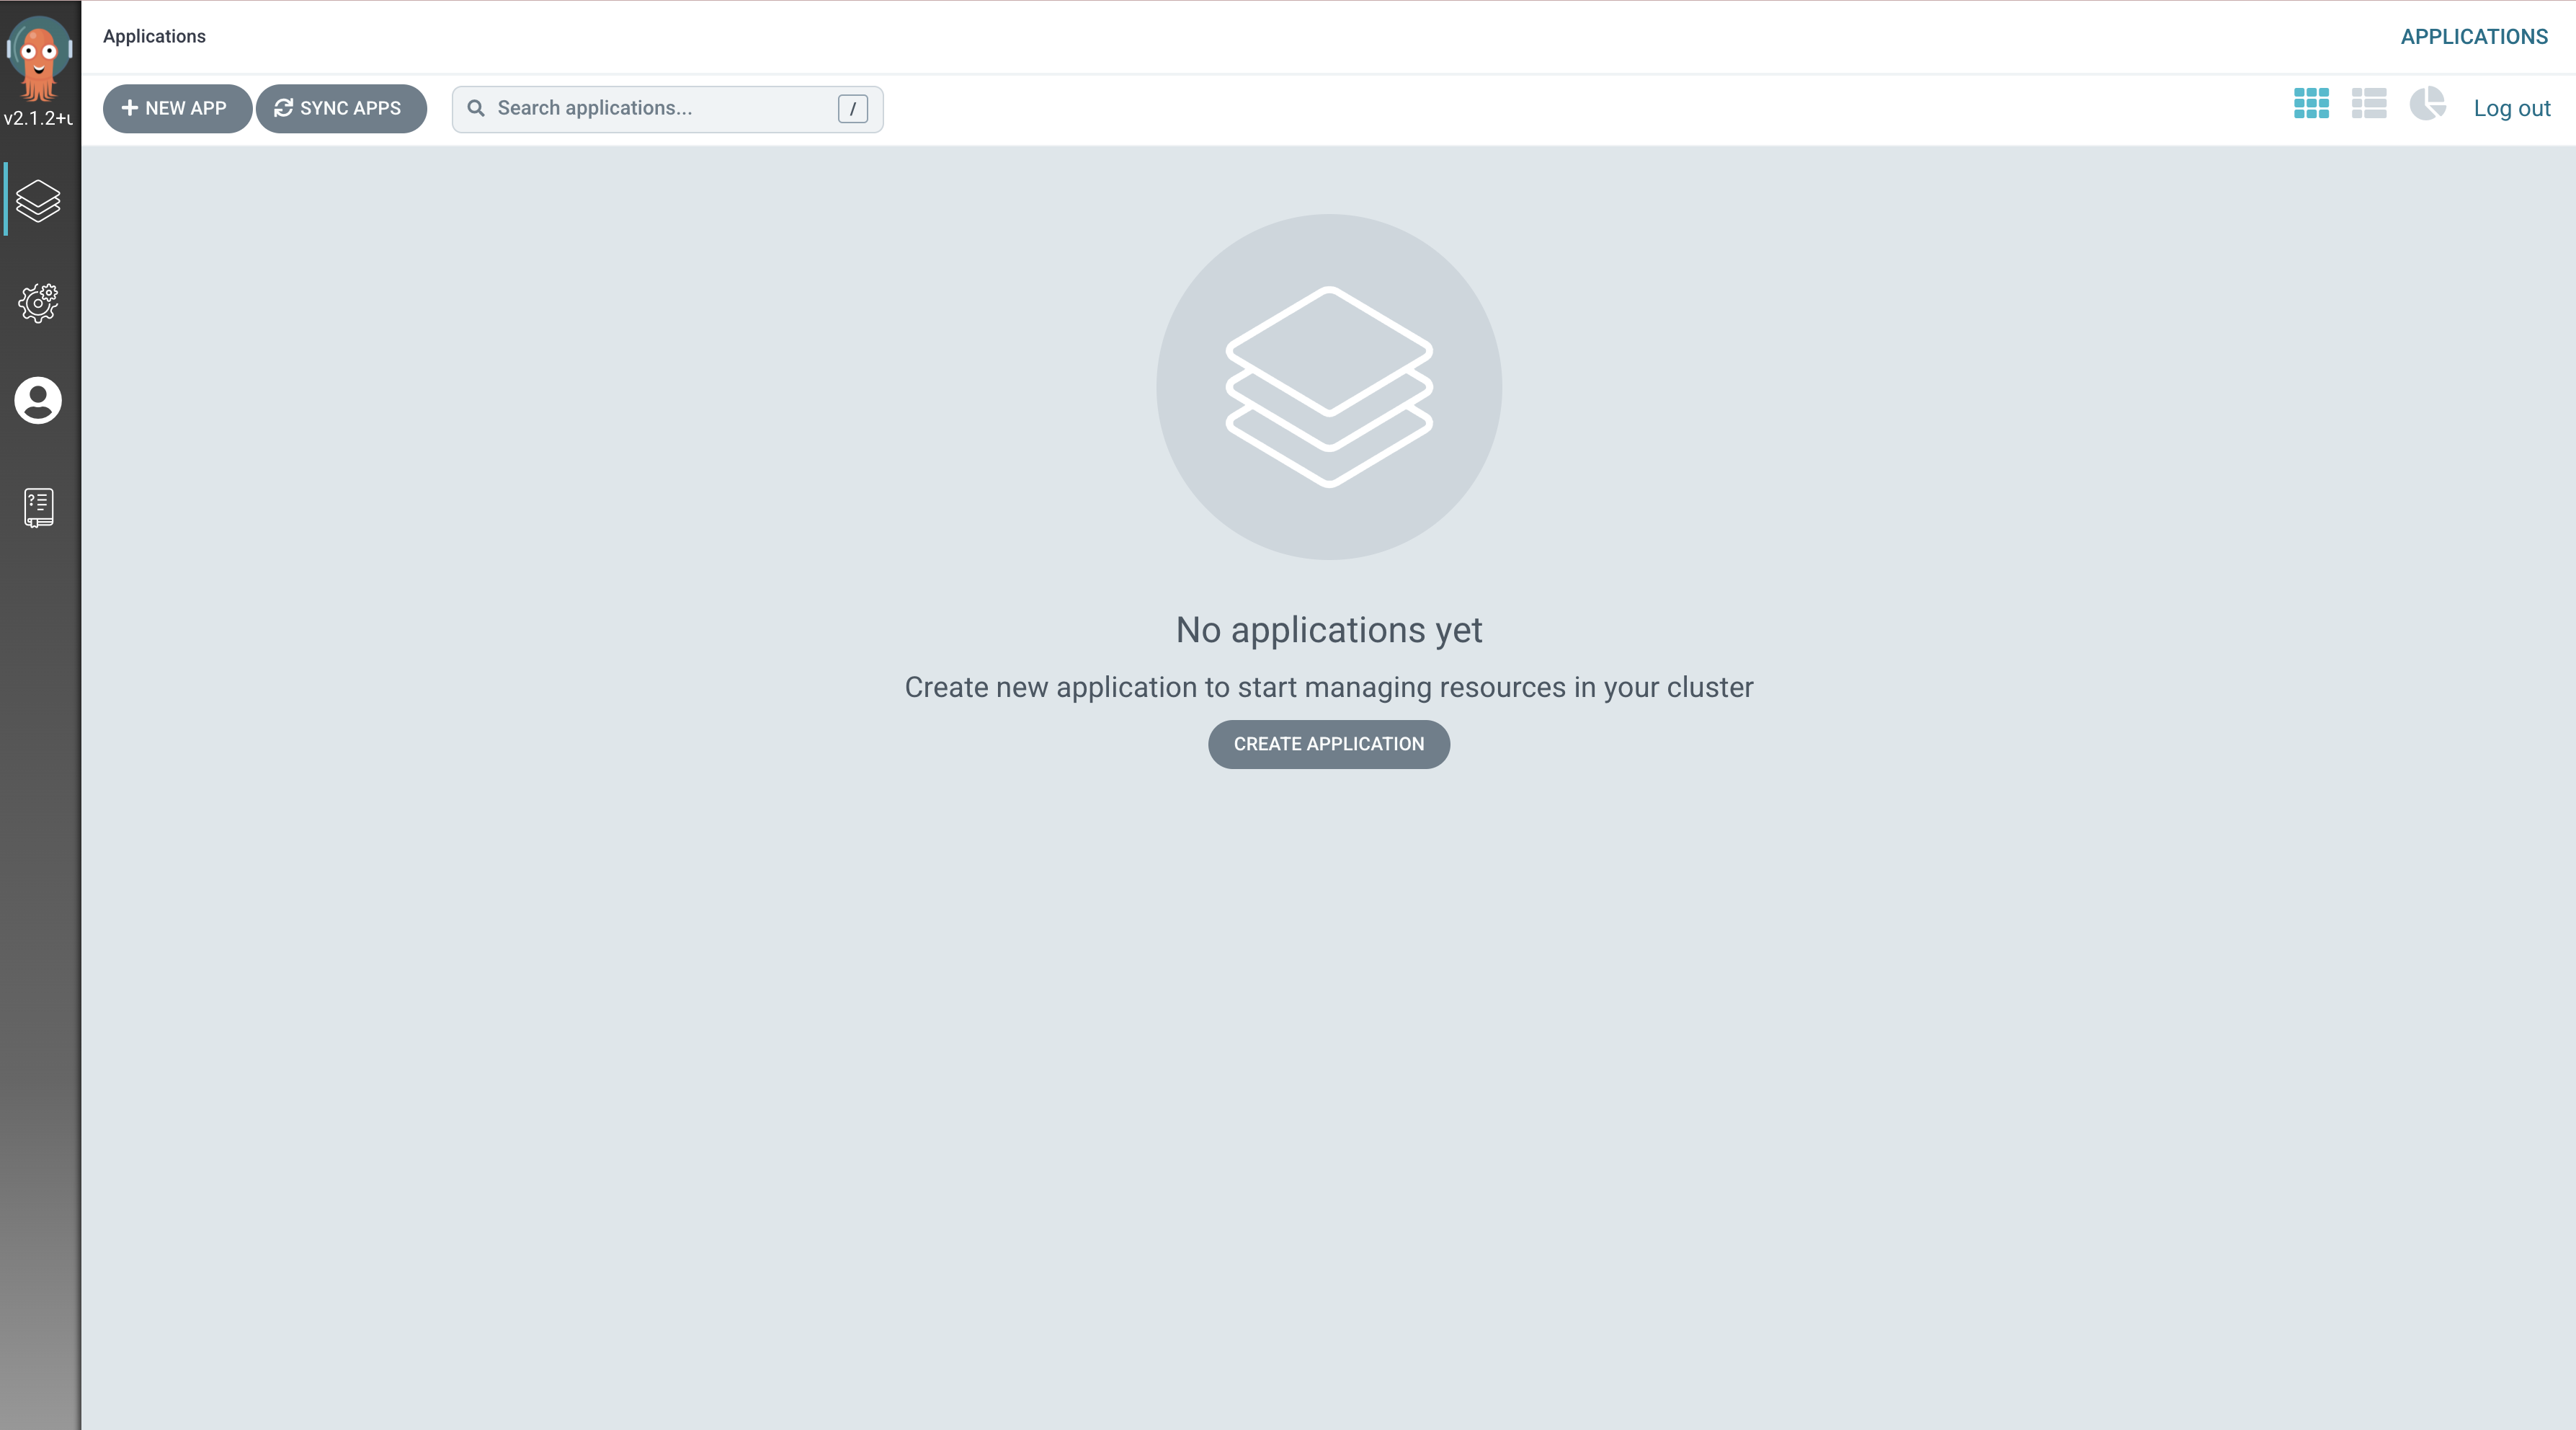
Finally if all went well you should land in the ArgoCD console and see this.

Checking Gitea
Gitea will be installed in gitea-system namespace
|
Let’s have a look to the Gitea deployment object.
|
This command only works as expected once the Deployment object has been created by the operator, be patient and try again if you get. |
oc rollout status deploy/repository -n gitea-systemThis is the normal state after being successfully rolled out.
deployment "repository" successfully rolled out
oc get deployment/repository -n gitea-system
NAME         READY   UP-TO-DATE   AVAILABLE   AGE
repository   1/1     1            1           32m
Once Gitea has been rolled out, run this little smoke test.
| You should get something like this. If you don’t, be patient and run this command in 2 mins or so. |
HTTP/1.1 200 OK
set-cookie: i_like_gitea=82e42fd387b6ea7a; Path=/; HttpOnly; SameSite=Lax
date: Mon, 25 Oct 2021 08:06:22 GMT
set-cookie: 5b3fc896c2f6eedc568a6b59cd1862ea=23d42cb20150039ef52136e8993c6865; path=/; HttpOnly; Secure; SameSite=None
cache-control: private
While Gitea is being installed a Job will in it’s turn create some users in Gitea.
Let’s wait until the job is complete or times out after 120s with the following command:
oc wait --for=condition=complete --timeout=120s job/gitea-setup -n gitea-systemCopy the next url and open it in a new tab, please use these credentials:
-
USERNAME: user1
-
PASSWORD: openshift
https://repository-gitea-system.apps.%BASE_SUBDOMAIN%/user/login