Deploy JBoss EAP Application with ArgoCD
Simplification, git-based automation
We have deployed Kitchensink manually using S2I, but…
-
How repeatable is this procedure?
-
Is it auditable? Who triggered it? Change it?
-
Simple at first, but what about in the long run?
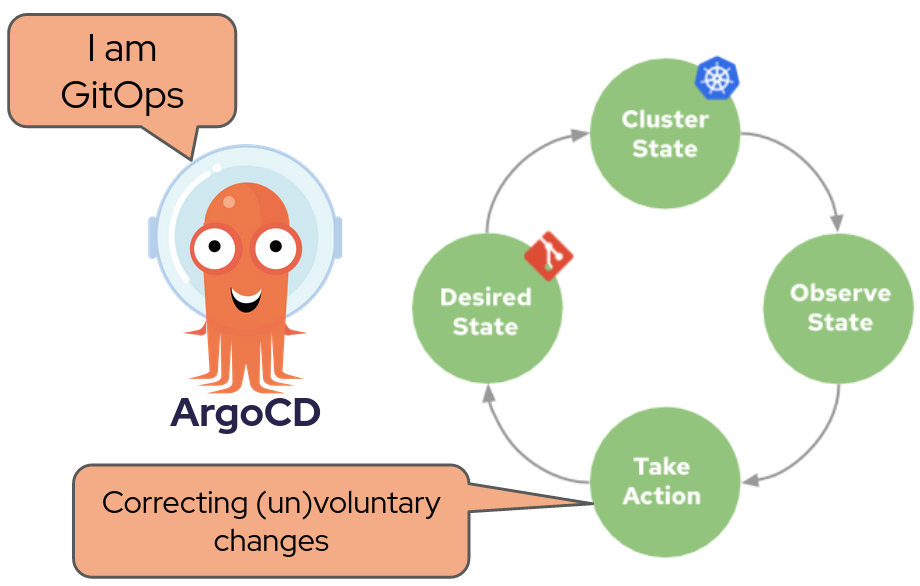
No worries GitOps to the rescue !!!

GitOps provides infrastructure as code by using git repositories as the only source of truth that defines de desired cluster state, but GitOps is just an idea, a concept. So in order to use this idea you need an implementation. Red Hat contributes heavily on an community project called Argo CD.
Argo CD can extract the cluster state in a number of ways, directly as files from a folder or by using a plugin.
Git Repositories Involved
If you remember at the beginning of this guide you migrated a couple of repositories, one was for code, kitchensink, the other was for configuration, kitchensink-conf.
In this lab you will experience different ways of deploying the application you already know Kitchesink in increasing complexity. We have structure the descriptors in kitchesink-conf so that these different ways of deployment using Argo CD and live in the same repository.
There are four main directories, namely:
-
basic/base: here you can find plain yaml descriptors
⇒ In this case No plugin is needed
-
kustomized/*: here you will find two subdirectories (dev and test) which are overlays or environments which relies in a kustomization.yaml file at basic
⇒ For this case you will rely on the kustomize plugin
-
advanced/helm_base: at this location you can find a helm chart
⇒ here, the helm plugin is needed
-
advanced/overlays/:* as in kustomize/* here you will find dev and test overlays but this time overlays look for resources in advanced/helm_base and, as already explained, those resources will be in the shape of a helm chart.
⇒ This case is special, it relies both on helm and kustomized so a custom plugin will be needed
Application object: Keystone of Argo CD
The Application CRD is the Kubernetes resource object representing an Argo CD application instance to be deployed in a certain destination given a certain source git repository coordinates where Argo CD will be able to get or extract the kubernetes descriptors needed to deploy our application.
| Picture yourself scanning a QR code to download the instructions to mount a piece of furniture from IKEA. |
apiVersion: argoproj.io/v1alpha1
kind: Application
metadata:
  name: kitchensink-basic-app
  namespace: openshift-gitops
  finalizers:
    - resources-finalizer.argocd.argoproj.io
  labels:
    kitchensink-root-app: 'true'
spec:
  destination: (1)
    name: in-cluster
    namespace: demo-3
  source: (2)
    path: basic/base
    repoURL: 'https://repository-gitea-system.apps.%BASE_SUBDOMAIN%/%USERNAME%/kitchensink-conf'
    targetRevision: main
  project: default (3)
  syncPolicy: (4)
    automated:
      selfHeal: true
    syncOptions:
      - CreateNamespace=true
  ignoreDifferences:
    - group: apps.openshift.io
      jqPathExpressions:
        - '.spec.template.spec.containers[].image'
kind: DeploymentConfig| 1 | Destination |
| 2 | Source |
| 3 | Project |
| 4 | Sync Policy |
Let’s explain the key parts:
Deploy Kitchensink with ArgoCD
You’re going to deploy again Kitchensink, in pretty much the same way you did before, that is using S2I. But instead of doing it manually Argo CD is going to do it for you.
In order to do so we have done some pre-work, basically we have extracted the descriptors you have just generated in project s2i-%USERNAME% and put them in your git repository. Please have a look at them using the next link:
https://repository-gitea-system.apps.%BASE_SUBDOMAIN%/%USERNAME%/kitchensink-conf/src/branch/main/basic/baseThere you will find, among others:
-
kitchensink-dc.yaml ⇒ deployment descriptor of kitchensink
-
kitchensink-db-deployment.yaml ⇒ deployment descriptor of the kitchensink database
-
kitchensink-bc.yaml ⇒
BuildConfigin charge of building our application image using S2I
Also you will find Services a Route and an ImageStream.
It’s time to create the Application object with the instruction to deploy our application, please run this command:
export USERNAME="%USERNAME%"
cat <<EOF | oc apply -n openshift-gitops -f -
apiVersion: argoproj.io/v1alpha1
kind: Application
metadata:
name: kitchensink-basic-app-${USERNAME}
namespace: openshift-gitops
finalizers:
- resources-finalizer.argocd.argoproj.io
labels:
kitchensink-root-app: 'true'
username: ${USERNAME}
spec:
destination:
name: in-cluster (2)
namespace: argo-${USERNAME} (1)
ignoreDifferences: (4)
- group: apps.openshift.io
jqPathExpressions:
- '.spec.template.spec.containers[].image'
kind: DeploymentConfig
project: default
source: (3)
path: basic/base
repoURL: 'https://repository-gitea-system.apps.%BASE_SUBDOMAIN%/%USERNAME%/kitchensink-conf'
targetRevision: main
  syncPolicy:
    automated:
      selfHeal: true
syncOptions:
- CreateNamespace=true
EOF| 1 | Destination namespace |
| 2 | Destination cluster |
| 3 | Source repository and path |
| 4 | Ignore differences is a convenient way of telling ArgoCD not to take into account changes in a given path for certain objects. In this case because OpenShift by default changes the image string by one pointing to the hash not the tag hence generating a loop between OpenShift and ArgoCD. |
Open the next link to see how the Application object you just created is seen in ArgoCD UI.
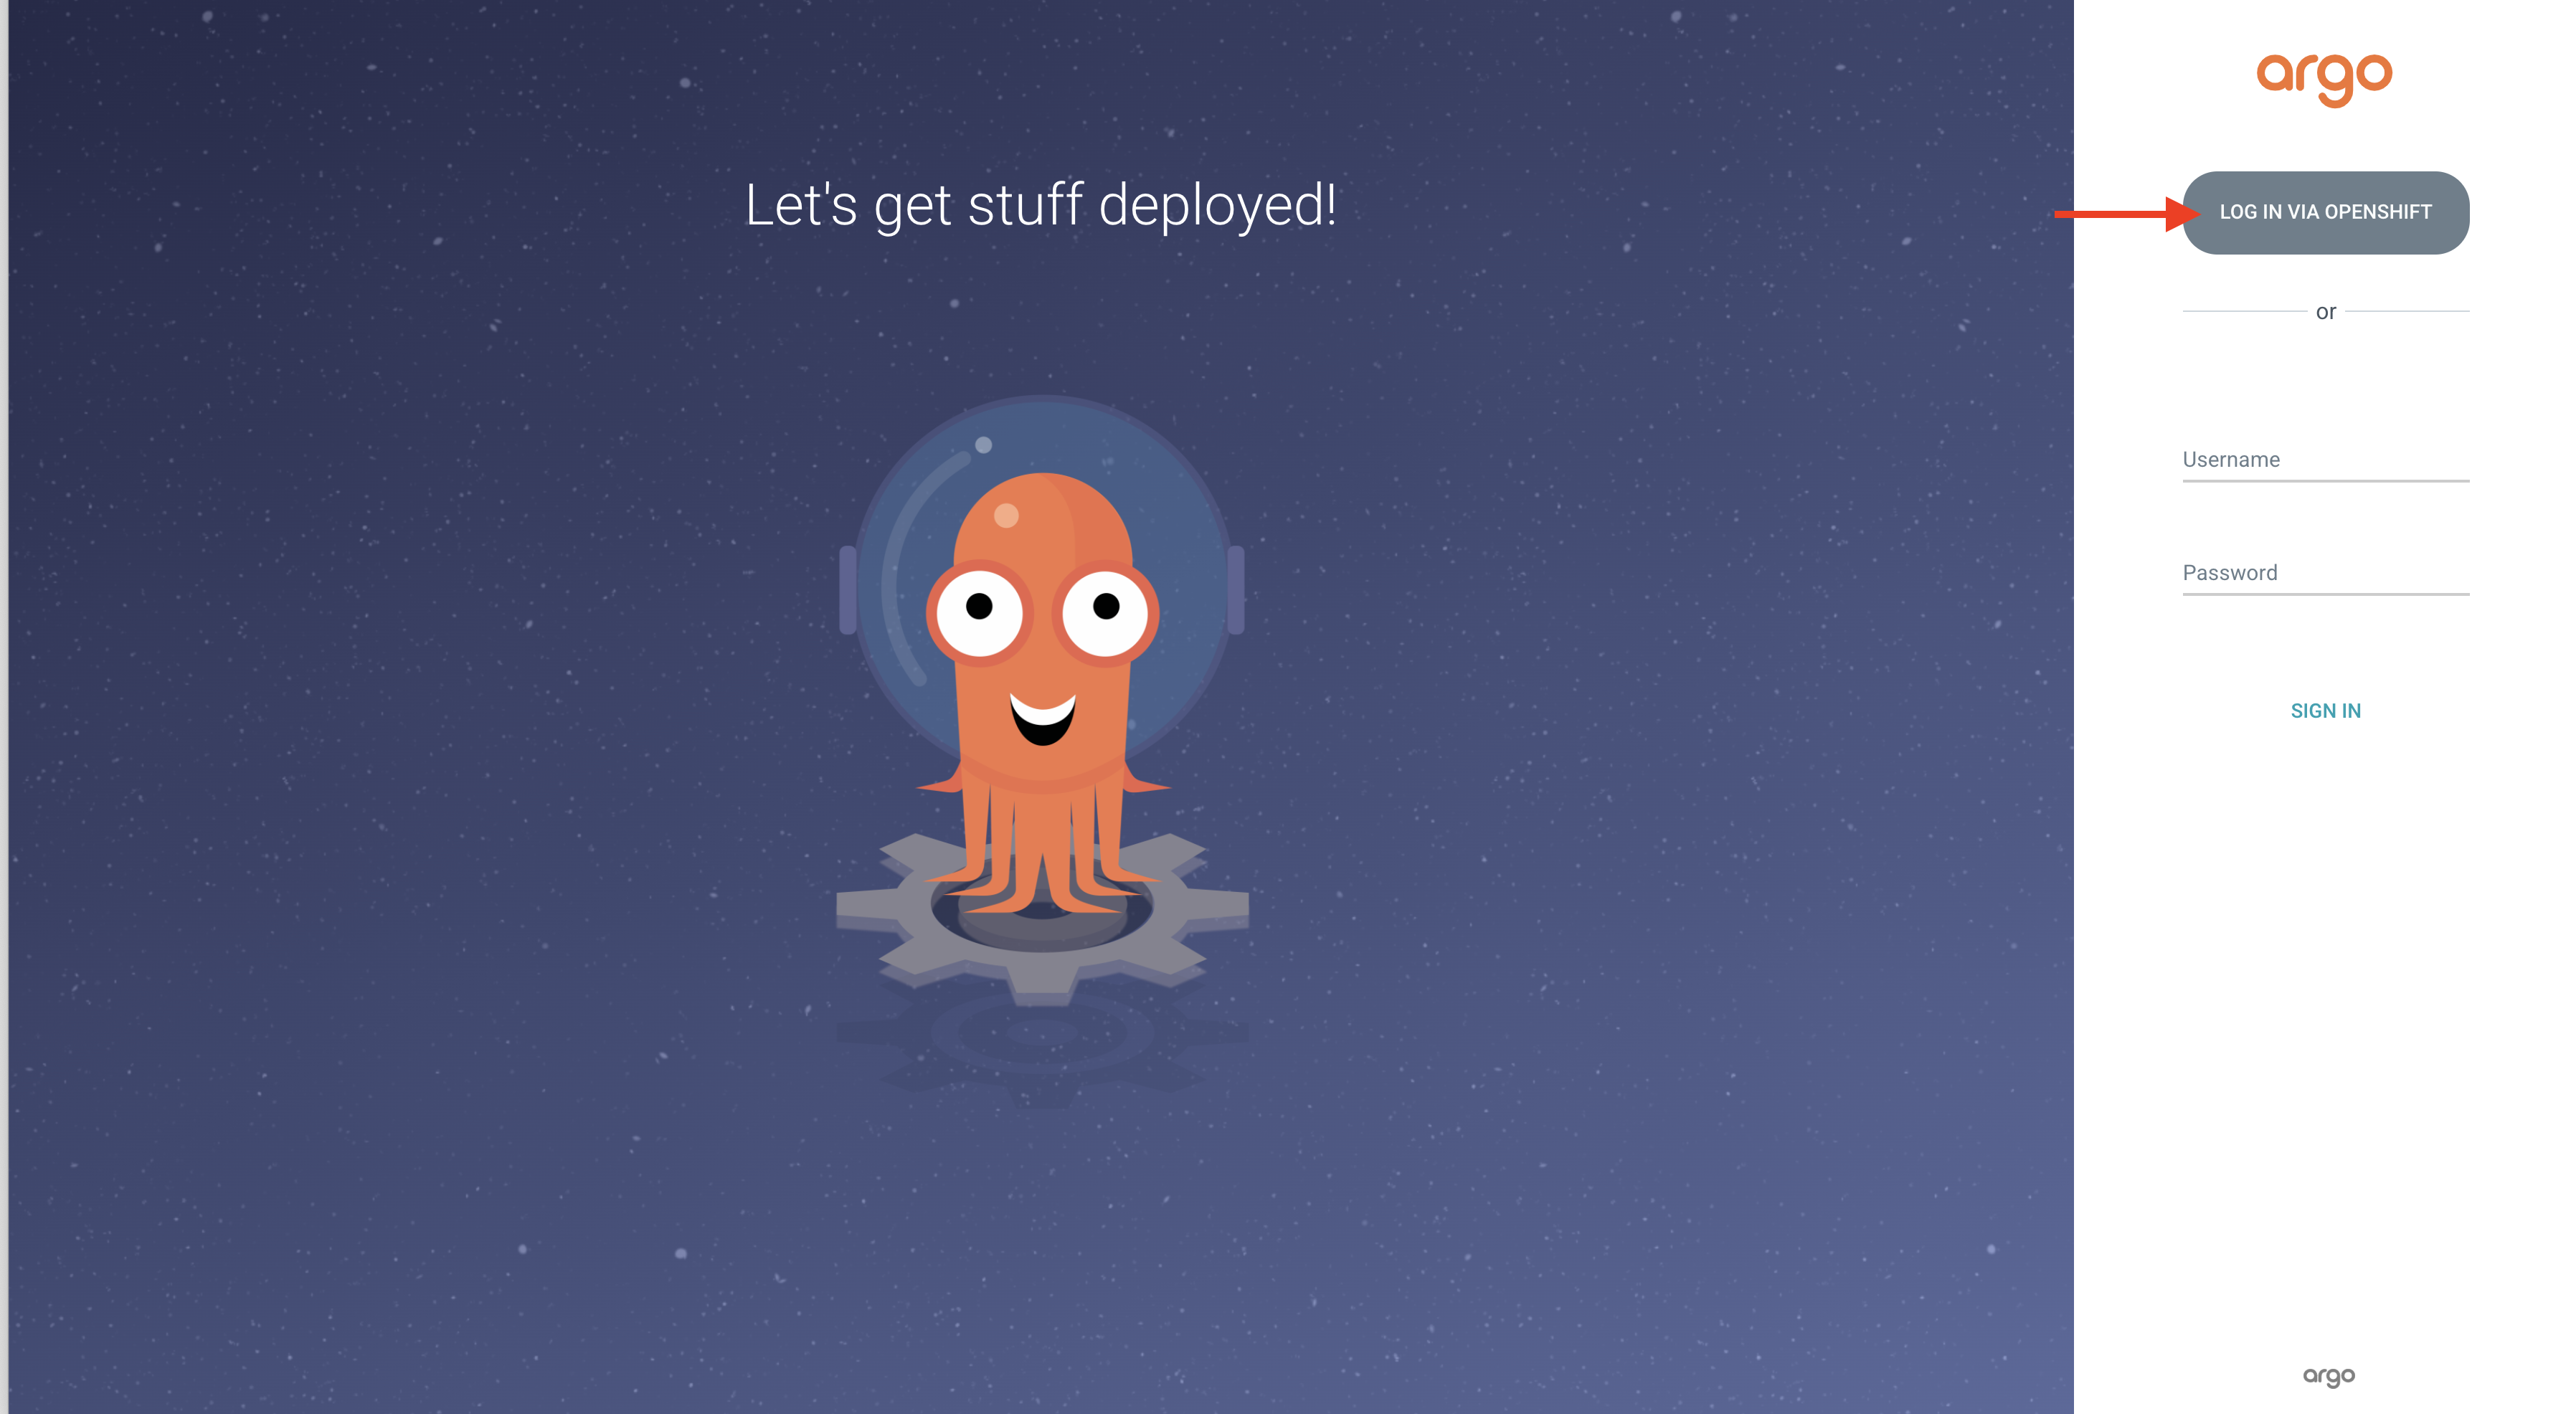
https://openshift-gitops-server-openshift-gitops.apps.%BASE_SUBDOMAIN%Click on the LOG IN VIA OPENSHIFT button and use the credentials you’ve used before:

If credentials are required use these:
-
USERNAME: %USERNAME%
-
PASSWORD: %PASSWORD%
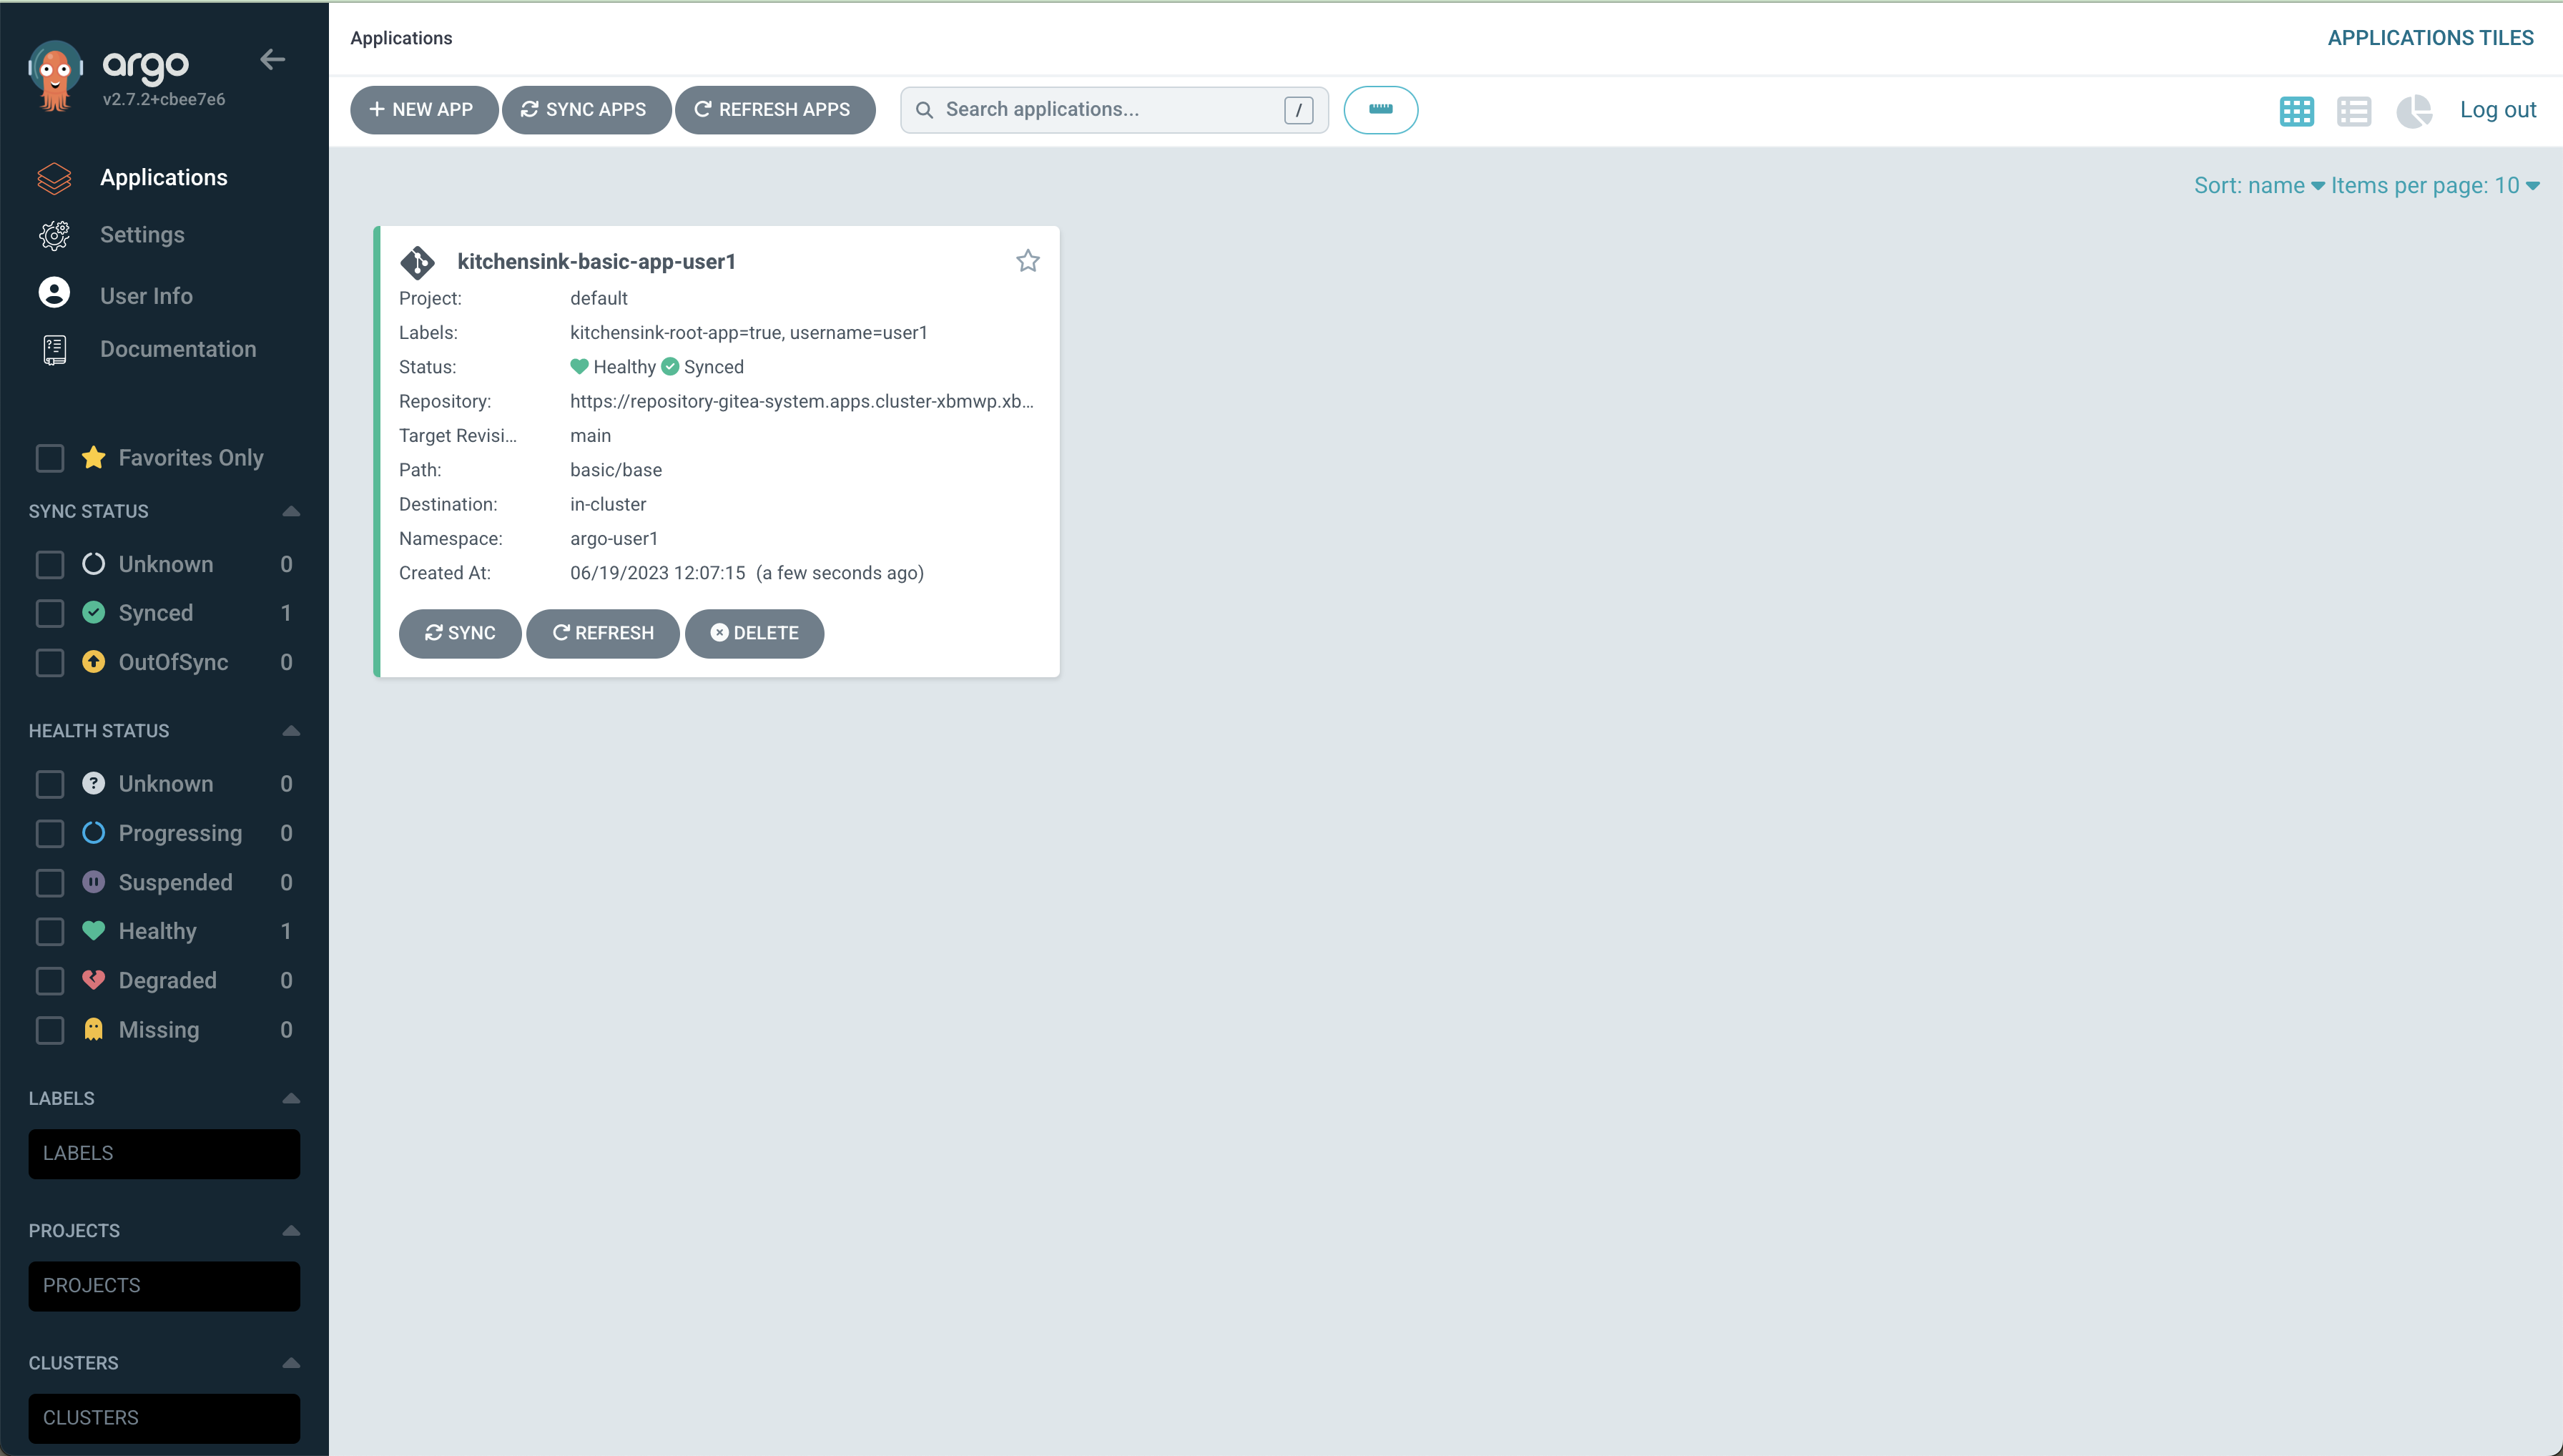
After logging in successfully and agreed to Allow selected permissions you will land in the Applications area and see the application you’ve just created.

To see the progress of deployment you should go to namespace argo-%USERNAME% in the OpenShift web console or just copy the following link.
https://console-openshift-console.apps.%BASE_SUBDOMAIN%/topology/ns/argo-%USERNAME%?view=graphIf credentials are required use these:
-
USERNAME: %USERNAME%
-
PASSWORD: %PASSWORD%